最新开源Ai画图Stable Diffusion 3简单安装、汉化及使用教程
一、安装
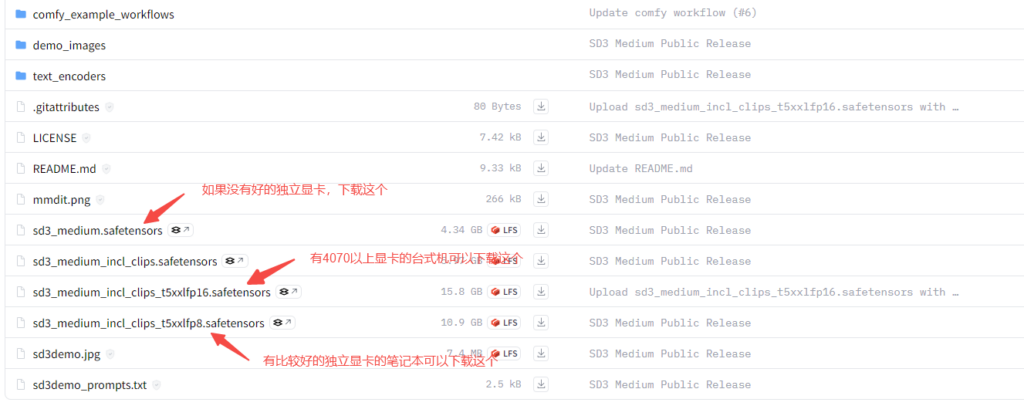
1、下载Stable Diffusion 3 开源模型,【下载地址】,需登录,没有账号可以用邮箱注册一个。不清楚要下载哪个的可以看下图建议
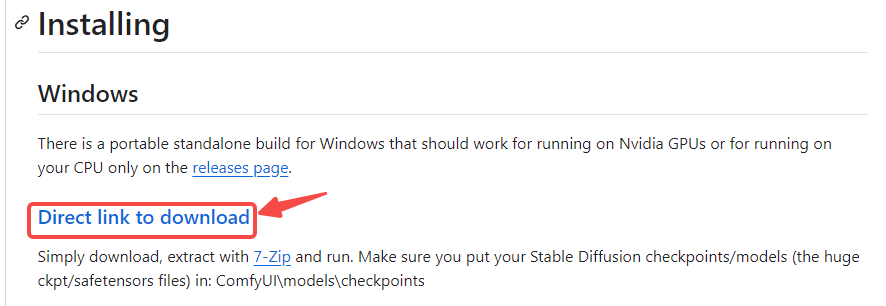
2、下载ComfyUI。【下载地址】。打开下载页面,往下拉到下图这下载,下载后可以解压到目录备用
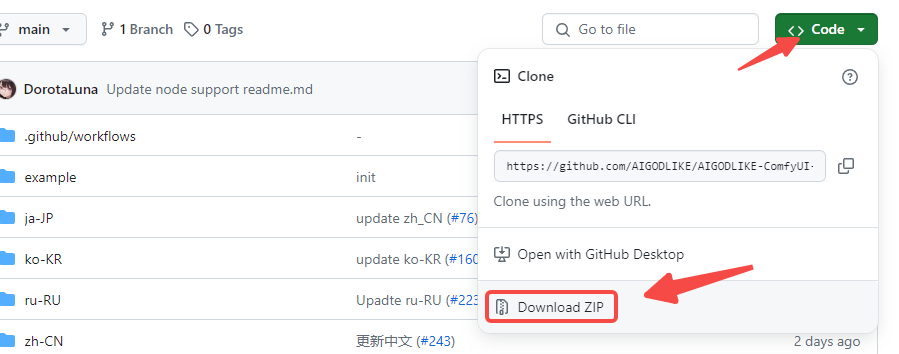
3、下载ComfyUI语言包。【下载地址】,解压后复制目录到ComfyUI\custom_nodes 目录里
4、把下载的Stable Diffusion 3 模型移动到ComfyUI\models\checkpoints目录里
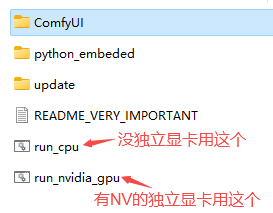
5、开始运行ComfyUI,第一次运行会比较慢,请耐心等待。
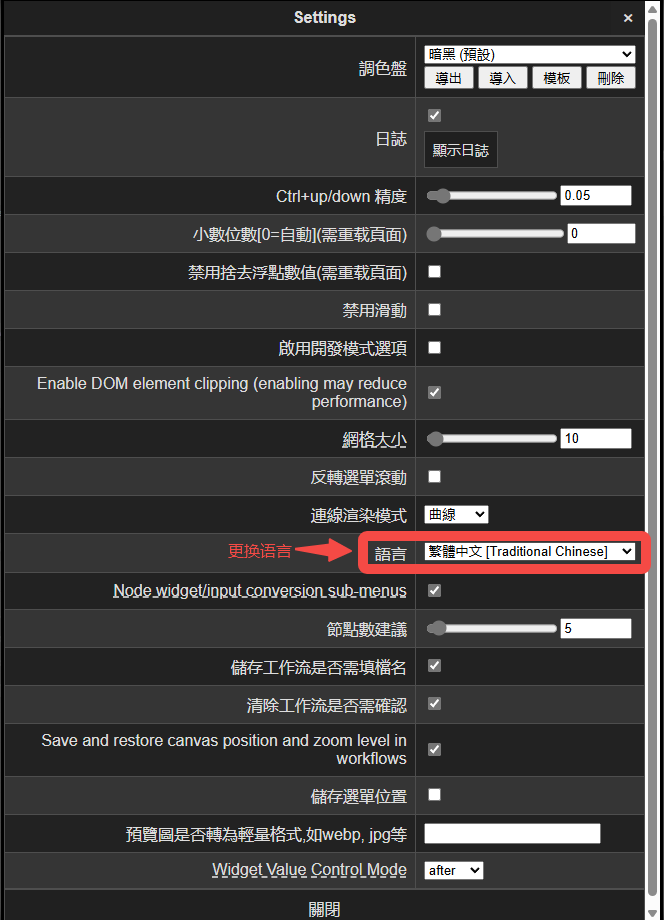
6、运行完成出现该界面就说明成功运行了,你可以在设置里选择你想要显示的语言。
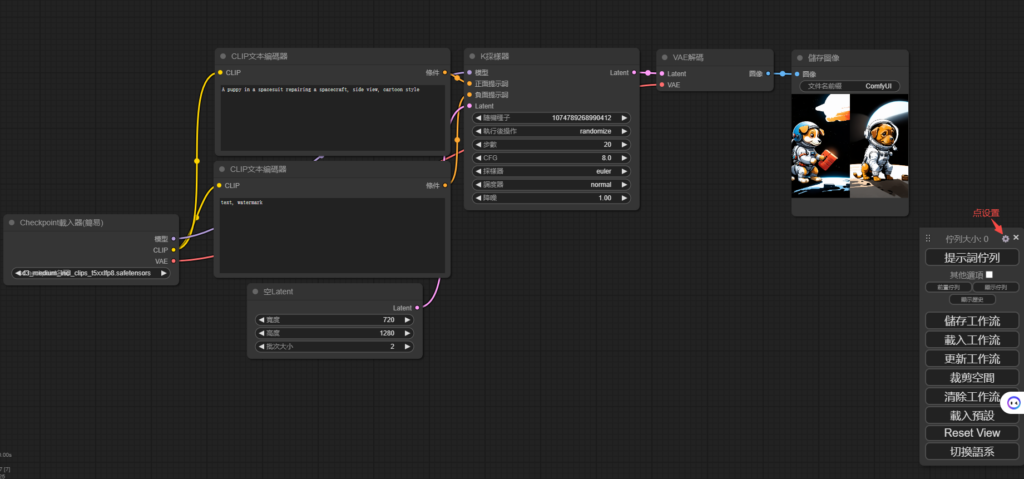
二、使用,请看下图

三、ComfyUI添加局域网访问
1、Win+R打开运行,输入CMD回车,然后输入ipconfig回车。找到IPv4地址,局域网一般是192开头。
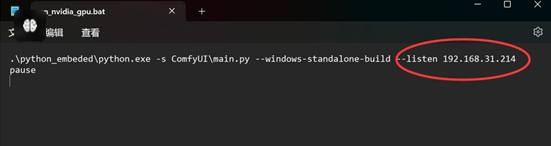
2、编辑run_nvidia_gpu.bat或run_cpu.bat文件,在命令的结尾添加–listen 局域网的IP地址。


定制歌曲教程 14")


打开开发者,刷入breed并刷入老毛子固件或Openwrt,变成全能的便携路由器教程 24")

Comments